

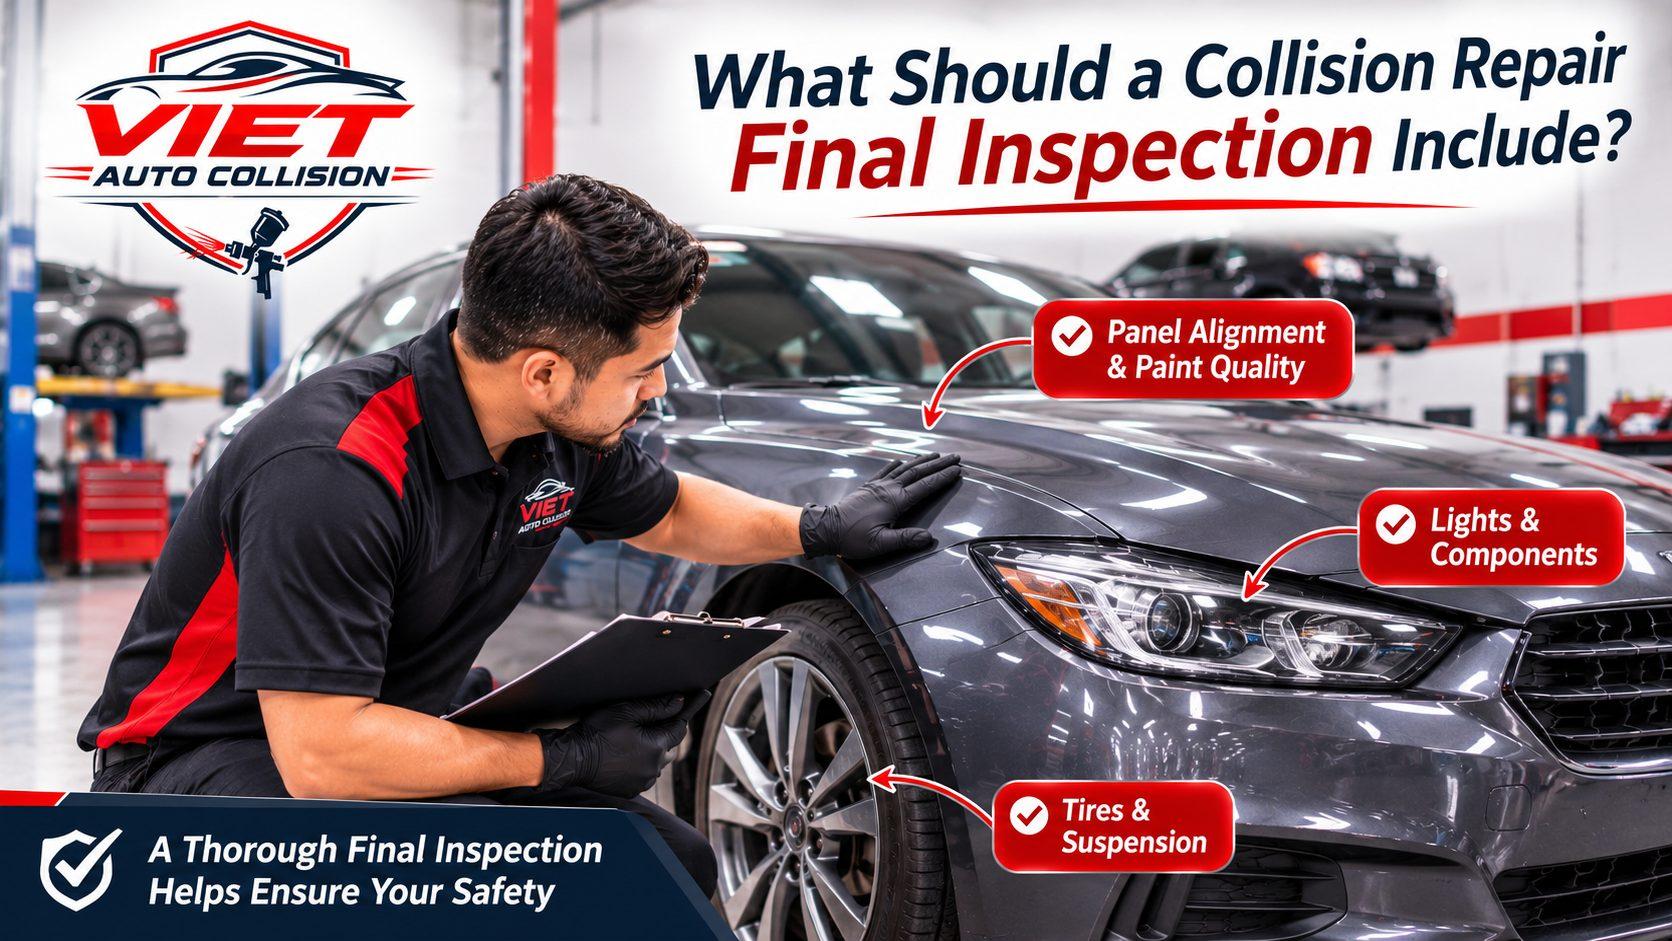
What Should a Collision Repair Final Inspection Include Before a Vehicle Is Returned to Its Owner?

Getting a vehicle back after a collision repair can be a relief, particularly after days or weeks of dealing with estimates, insurance approvals, replacement parts, and repair updates. However, the moment a shop says the vehicle is ready does not mean the owner should immediately collect the keys and leave.
A completed collision repair needs more than a fresh paint finish and properly installed body panels. Depending on the accident and repair work, technicians may also need to verify component fitment, mechanical operation, electrical systems, warning indicators, structural measurements, and advanced safety features.
This is where a collision repair final inspection becomes important. It provides an opportunity to check that the work outlined in the repair plan has been completed and that affected vehicle components have been reviewed before delivery.
For vehicle owners, understanding the final inspection process also makes it easier to ask useful questions, identify overlooked details, and review repair documentation. A proper inspection should consider the vehicle as a complete system rather than judging the result by exterior appearance alone.
1. Why Is a Collision Repair Final Inspection Important?
A final inspection is the last quality-control stage before a repaired vehicle is returned to its owner. Its purpose is to review the completed work against the approved repair plan and identify issues that need attention before delivery.
Collision repairs can involve several different operations. A single accident might require panel replacement, structural correction, paint refinishing, mechanical work, and the removal and reinstallation of electronic components.
Each operation creates opportunities for small problems to be overlooked.
For example, a replacement fender might have an acceptable paint finish but inconsistent gaps around the adjacent door and hood. Similarly, a bumper may look properly installed while a nearby sensor, mounting bracket, or electrical connection still requires attention.
A final inspection helps identify these kinds of concerns.
It also provides an opportunity to confirm that components disturbed during the repair have been reinstalled correctly and that relevant functions operate as expected.
Importantly, the final inspection should be based on the actual damage and repair operations. A vehicle that received a minor door repair does not need the same checks as one that underwent structural correction and repairs involving advanced driver assistance systems.
2. Check Panel Alignment, Gaps, and Exterior Fitment
One of the first areas to inspect is the exterior fit of the repaired panels.
Vehicle body panels are designed to follow specific contours and maintain consistent relationships with surrounding components. When a damaged panel is repaired or replaced, its positioning should be checked against adjacent panels.
What should technicians inspect?
The inspection may include:
-
Consistent gaps between adjacent body panels.
-
Proper alignment of doors, fenders, bumpers, and the hood.
-
Correct positioning of the trunk or tailgate.
-
Secure attachment of exterior trim.
-
Proper alignment of headlights and taillights.
-
Smooth panel contours without obvious irregularities.
-
Correctly installed brackets, clips, and mounting hardware.
For example, after replacing a front fender, technicians should evaluate its relationship with the hood, front door, headlight, and bumper.
A noticeable difference in panel spacing may indicate that the positioning or attachment requires further attention.
Door and closure alignment deserves particular consideration because poorly positioned components may affect latching, sealing, and normal operation.
Owners should also check that the repaired panels do not visibly protrude, rub against adjacent components, or create unusual gaps.
A good-looking panel is not enough if its installation affects the operation of neighboring parts.
3. Examine Paint Quality and Refinishing Results
Paint refinishing is another important part of the final inspection, particularly when damaged body panels have been repaired or replaced.
A professionally finished repair should be evaluated under suitable lighting because certain imperfections can be difficult to identify in dim workshop conditions.
Inspect color consistency
The repaired area should be examined alongside adjacent panels.
Differences in color, metallic appearance, or overall finish may become noticeable when light reflects across different sections of the vehicle.
Color matching can be affected by paint formulation, application technique, the condition of existing paint, and the vehicle's original finish.
Depending on the repair, blending into adjacent panels may be appropriate to achieve a consistent appearance.
Look for surface imperfections
Other details to review include:
-
Uneven paint texture.
-
Visible runs or sags.
-
Dust particles trapped in the finish.
-
Scratches or sanding marks.
-
Buffing compound residue.
-
Masking or tape lines.
-
Overspray on nearby surfaces.
-
Poorly finished edges around trim and openings.
These imperfections should be evaluated according to their location and severity.
For instance, a small amount of polish residue may require additional cleaning, while a visible paint defect may require further refinishing work.
Owners should inspect the repaired area from several angles rather than relying on a quick glance directly in front of the vehicle.
4. Verify That Replaced Parts and Hardware Are Installed Correctly
Collision repairs often involve removing and reinstalling multiple components to reach damaged areas.
These may include bumper covers, headlights, grilles, mirrors, door trim, interior panels, brackets, and various fasteners.
During reassembly, the final inspection should confirm that relevant parts are properly installed and secured.
Check for:
-
Loose or missing exterior trim.
-
Properly secured bumper attachments.
-
Correctly installed headlight and taillight assemblies.
-
Properly seated door seals.
-
Missing clips, fasteners, or covers.
-
Loose interior trim or disturbed dashboard components.
-
Incorrectly positioned protective panels.
Consider a bumper replacement as an example.
The visible bumper cover may look correct, but the underlying retainers and attachment points also matter. If these components are not installed properly, the bumper may not remain securely positioned.
The inspection should therefore consider the entire affected assembly, not just its most visible component.
Ask the repair facility whether the work order identifies the replacement components and whether any relevant parts or hardware were carried over from the original assembly.
5. Test Doors, Windows, Lights, and Other Affected Functions
A collision can affect the operation of components that appear to be unrelated to the main body damage.
For example, a side impact involving a door may affect its latch, window regulator, mirror wiring, or nearby electrical connections.
A final inspection should include functional checks of items affected by the collision or repair operations.
Doors and windows
Confirm that repaired doors open and close normally, latch securely, and align properly with neighboring panels.
Power windows, window switches, mirrors, and relevant locks should also be checked when these components were disturbed or involved in the damage.
Exterior lighting
Test the affected headlights, brake lights, turn signals, parking lights, and reverse lights.
Verify that the relevant lamps illuminate properly and that the installed assemblies are secure.
Interior controls
When repair work involves interior components, check any affected switches, buttons, seat functions, and other controls.
The aim is to confirm that components disturbed during the repair have been returned to their intended operating condition.
Not every vehicle requires every possible function to be tested during every delivery. The inspection should be relevant to the original damage and the work performed.
6. Review Mechanical Components, Wheels, and Tires
When collision damage extends beyond exterior panels, a final inspection should also consider the mechanical components involved in the repair.
This is particularly important when the impact affects the front or rear wheel areas, suspension, steering, underbody, or cooling system.
Depending on the repair scope, relevant checks may include:
-
Correct installation of wheels and tires.
-
Tire condition and inflation.
-
Wheel alignment results.
-
Suspension component installation.
-
Steering operation.
-
Brake system concerns.
-
Cooling system operation.
-
Fluid levels associated with serviced systems.
-
Unusual mechanical noises.
For example, if a collision damages the suspension near one wheel, replacing the affected component is not necessarily the end of the process.
The facility may also need to check alignment measurements and verify that the relevant mechanical systems operate correctly.
Where measurements were part of the repair plan, ask whether the shop has before-and-after documentation available.
This can provide useful information about the work performed and the final condition of the relevant components.
A final inspection should never assume that a mechanically affected area is satisfactory simply because the exterior bodywork now looks normal.
7. Review Dashboard Warnings, Diagnostic Scans, and Electronic Systems
Modern vehicles rely on electronic modules, sensors, and control systems to operate many functions.
Collision repairs may involve removing components near wiring connections, electronic modules, cameras, radar units, or other sensors.
For this reason, electronic diagnostics can be an important part of post-repair quality control when the vehicle's damage or repair operations warrant them.
Understand the purpose of a post-repair scan
A post-repair diagnostic scan helps technicians identify relevant diagnostic trouble codes that remain or were recorded during the repair process.
However, scanning and calibration are not the same operation.
A scan identifies electronic system faults or recorded information. Calibration involves setting or aligning certain systems according to their required procedures.
A vehicle may require one, both, or neither depending on the damage, parts removed or replaced, and manufacturer instructions.
Ask whether the completed repair required a post-repair scan and whether relevant findings were addressed.
Check safety-related warning indicators
The inspection should also consider relevant dashboard warnings, particularly those involving:
-
Airbag and supplemental restraint systems.
-
Anti-lock braking systems.
-
Electronic stability control.
-
Tire pressure monitoring.
-
Parking assistance.
-
Other affected driver assistance features.
A warning indicator that appeared before or during repairs should not simply be ignored because the vehicle is ready for collection.
The repair facility should explain any outstanding warnings and whether they are related to the collision or another condition.
8. Confirm ADAS Calibration When the Repair Requires It
Advanced Driver Assistance Systems (ADAS) have become increasingly common in modern vehicles.
These systems may include automatic emergency braking, lane departure warning, blind spot monitoring, adaptive cruise control, and parking assistance.
They use cameras, radar, ultrasonic sensors, and other components to support various driver assistance functions.
Because some of these components are installed near bumpers, windshields, mirrors, and other exterior areas, collision repairs can affect their positioning or operation.
I-CAR explains that removing or replacing certain components, including bumpers and suspension parts, may require ADAS recalibration when specified by applicable procedures. Its ADAS repair and calibration guidance explains why correct sensor alignment and manufacturer repair information matter.
I-CAR+1
What should the final inspection confirm?
When relevant to the repair, ask:
-
Were affected cameras and sensors inspected?
-
Did the repair require static or dynamic calibration?
-
Was the correct vehicle-specific procedure followed?
-
Were any required calibration results documented?
-
Were relevant warning messages and system faults addressed?
Not every collision requires ADAS calibration.
The decision depends on the affected components, the vehicle's design, the repair operations, and manufacturer requirements.
A dashboard without warning lights is also not, by itself, proof that all affected systems have been correctly calibrated.
9. Consider a Road Test and Final Mechanical Verification
A road test can be useful when the nature of the repair makes it necessary.
For instance, after certain steering, suspension, braking, or mechanical repairs, a controlled test drive may help identify concerns that cannot be fully evaluated while the vehicle is stationary.
The exact procedure should be determined by the repair requirements and manufacturer instructions.
During an appropriate road test, relevant observations may include:
-
Steering response.
-
Unusual vibration.
-
Abnormal noises.
-
Brake operation.
-
Vehicle stability.
-
Warning indicators appearing during operation.
-
Behavior of relevant electronic systems.
Some diagnostic trouble codes may only appear after particular driving conditions or operating cycles. This is another reason post-repair diagnostics and test-drive requirements should be based on vehicle-specific procedures.
A road test should not be treated as a substitute for necessary measurements, diagnostic scans, or calibration.
It is one part of a broader verification process when applicable.
10. Check the Interior, Cleanliness, and Overall Vehicle Condition
Before delivery, the interior and exterior should be reviewed for issues related to the collision and repair process.
Technicians may have worked inside the vehicle to access damaged components, disconnect electrical connections, remove trim, or perform other operations.
As a result, the final inspection should consider both functionality and general condition.
Check for:
-
Dust and debris inside the cabin.
-
Damaged or displaced interior trim.
-
Grease or fingerprints on upholstery.
-
Unusual odors associated with the repair process.
-
Scratches on surfaces that were not previously damaged.
-
Loose items or leftover materials.
-
Properly reinstalled floor coverings and interior panels.
Also confirm that personal belongings removed during the repair have been returned, where applicable.
The purpose is not simply to make the vehicle look clean. It is to ensure that the repair process has not left avoidable issues inside the cabin.
11. Review Repair Documents, Invoices, and Warranty Information
The final inspection should include a review of the documents provided by the repair facility.
These records help explain what was done, which parts were supplied, and what the customer paid or remains responsible for paying.
California's Bureau of Automotive Repair (BAR) requires automotive repair dealers to provide a final invoice upon completion of repairs. Its official repair documentation guidance explains invoice requirements, including the repair facility's details, itemized services, repairs, and parts supplied.
Bureau of Automotive Repair+2
What should the customer review?
Before leaving, check:
-
The final itemized repair invoice.
-
The parts listed and their descriptions.
-
The repair operations performed.
-
Any additional authorized work.
-
Relevant diagnostic or calibration documentation.
-
Available alignment or measurement records.
-
Applicable workmanship warranty information.
If the shop provides a warranty, read its written conditions rather than assuming every future issue will automatically be covered.
Ask which repairs are included, how long coverage lasts, and what exclusions apply.
It is also useful to retain photographs, estimates, revised authorizations, and the final invoice together.
These documents can be valuable when arranging future repairs, selling the vehicle, or addressing questions about the accident history.
12. Give the Vehicle Owner Time for a Final Walkaround
A quality-control inspection should not prevent the customer from reviewing the completed work.
Before accepting the vehicle, the owner should have a reasonable opportunity to walk around it with a representative of the repair facility.
Start with the original damage areas and compare the repaired panels with nearby components.
Look at the vehicle under good lighting and ask the representative to explain any operation or repair detail that is unclear.
For drivers reviewing Garden Grove collision repair services, Viet Auto Collision's collision repair service page describes its final quality inspection as part of the repair process, including attention to panel fit, appearance, affected components, and completed repair details.
Auto Body Repair Experts+1
A useful customer handover should cover what was repaired, what parts were replaced, what relevant checks were completed, and whether any follow-up information applies.
Do not feel pressured to rush through the review.
If something appears inconsistent with the agreed repair plan, raise the concern and request an explanation before considering the handover complete.
Conclusion: A Complete Inspection Goes Beyond a Fresh Paint Finish
A collision repair final inspection should evaluate the repaired vehicle as a whole, not just the appearance of its exterior panels.
Panel alignment, paint quality, replacement parts, door operation, lighting, mechanical components, electronics, and any required ADAS calibration all deserve attention when they relate to the original damage and repair work.
Documentation is equally important. A detailed invoice, relevant diagnostic records, and clear warranty information help the owner understand what was completed and what to expect after delivery.
Most importantly, vehicle owners should have an opportunity to review the finished repair and ask questions before driving away.
A thorough final inspection creates a clearer handover, helps identify overlooked problems, and provides greater confidence that the completed repair addresses the work that was actually required.

